10 ways to say “no children” at your wedding
If you choose not to invite children to your wedding, we suggest making this clear on your wedding invitations.

Your wedding plans are underway and it’s time to get your wedding stationery sorted – here are 10 tips to get you started.
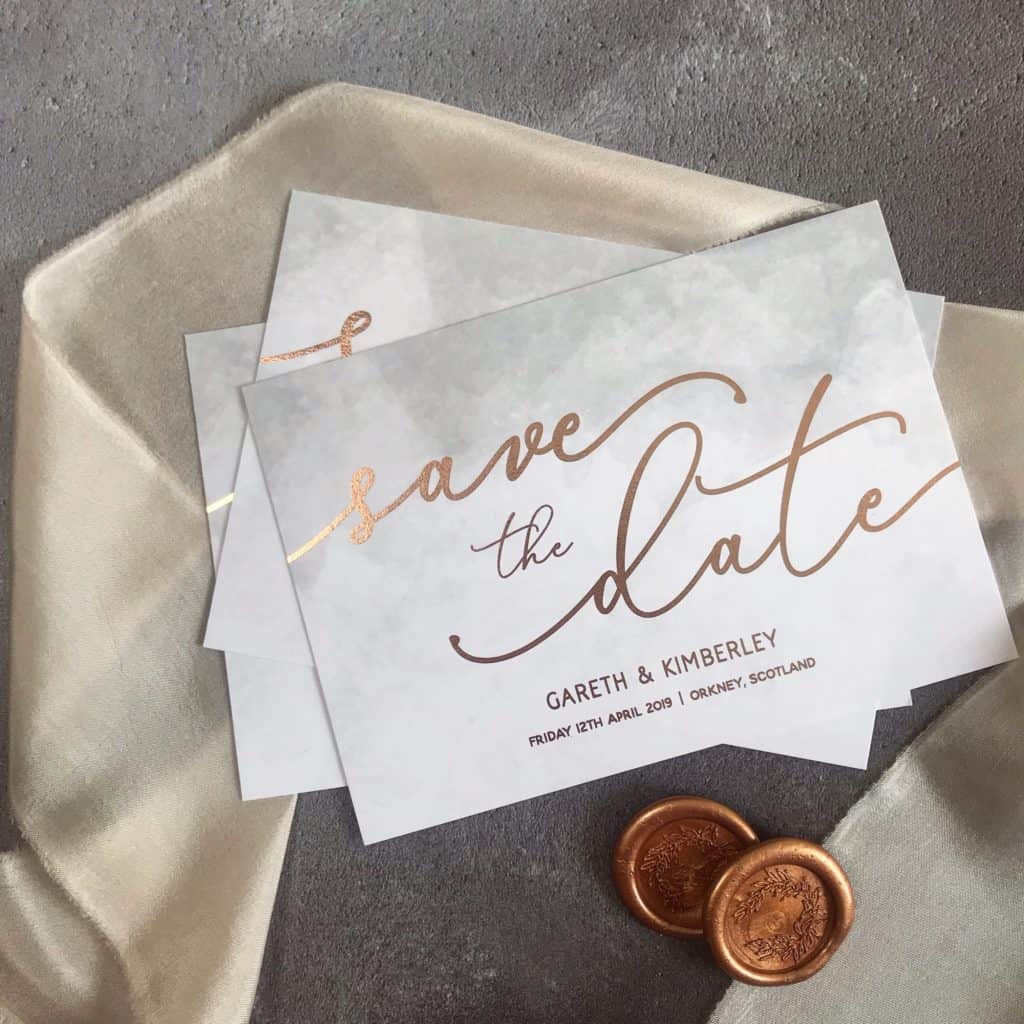
Save the Date cards are becoming increasingly common and are an expected courtesy for destination weddings. They are also a great idea for weddings during the summer or on holiday weekends. Save the Date cards allow you to lock in your guests early by announcing your wedding date and location. If you do choose to send out Save the Date cards, they should go out six to eight months before your big day, or eight to twelve months before a destination wedding.
As we talked about in our first blog post, the invitation is your guests’ first glimpse of your wedding, so it’s wise to know your wedding style before you start shopping for stationery. Once you have an idea of the style you are going for, we suggest getting some photo inspiration from stationers’ websites and social media tools such as Pinterest and Instagram. Think about your colours too and try to incorporate these into your stationery.
Once you have decided on your invitation design, it’s important to get your wording right. The wording sets the tone of your wedding, whether it be traditional and formal or casual and contemporary. For some helpful invitation wording suggestions, check out our other blog post.
When choosing a design, make sure that the text is legible (after all, this is the whole point of the invitation). Consider font type, size and colour. Keep it simple and list only the key points on your invitation: the hosts, the couple’s names, time and location, and dress code (if applicable). Details such as RSVP, gift registry, directions to your wedding venue or accommodation options, should be printed on separate enclosure cards or on your wedding website.
A seamless wedding relies on meticulous planning, and an accurate guest count is very important. An RSVP card should be sent out with your invitations and your RSVP date should be at least 4 weeks before your big day. This gives you enough time to follow up any guests who’ve forgotten to RSVP and to finalise details with your vendors, caterers and your seating chart. Make it easy for your guests to RSVP by including a stamped envelope or postcard style RSVP card.
Before your invitations are printed, your stationer will send you proofs for approval. It is imperative that you carefully check every detail (names, dates, typos, etc). It might also be a good idea to get a fresh pair of eyes (perhaps your mum or bridesmaid) to cast their eyes over the proofs.
You don’t need an invitation for every guest. As a rule of thumb, families get one invitation, couples get one invitation, and children who don’t live at home or who are over 18 get a separate invitation.
Always order a few extra invitations in case you need to resend some that get lost in the mail, or if you decide to invite additional guests at a later stage (depending on your RSVPs), and a few for keepsakes. Remember, it is more expensive to have a few additional invitations printed at a later date rather than ordering a few extra with your bulk order.
Once you have your wedding invitations underway, you can start thinking about the rest of your stationery for your big day: seating chart, table numbers, menus, favour tags and place cards. You might want these pieces in the same design as your invitations for a cohesive look, or you might want to alter your design for each element – this is up to you. Kill two birds with one stone by opting for personalised favour tags or menus which double up as place cards.
Thank you cards are an optional but lovely idea to thank your guests for sharing your special day. Aim to send these within a month of your wedding day or getting back from your honeymoon. Thank you cards can be personalised with individual names and messages for each guest, or you can simply send a generic thank you message to all your guests. Either way, your guests will no doubt appreciate a thank you from the newlyweds!


If you choose not to invite children to your wedding, we suggest making this clear on your wedding invitations.
With the 2020 wedding season fast approaching, we thought we’d share with you our 10 most loved wedding menus.
Deciding who to invite to your wedding can be a tricky (and, sometimes, political) task. Remember: it is your special day. Sharing it with those …
Once you’ve chosen the perfect design for your wedding invitations, you need to choose your words carefully. Much like the design of your invitations, the …


Enjoy 5% off your first order and be first to know about our latest designs, limited offers, and more.